BlogGuides
How to fully constrain a sketch in Fusion 360 (and why it matters)
Fully constrained sketches rebuild predictably. How to read sketch colors in Autodesk Fusion, which constraints to add first, and why to avoid Fix.
An under-constrained sketch looks fine until something upstream changes. Then a line slides, an arc flips, and the feature built on it fails. Fully constraining your sketches is the cheapest insurance you can buy in Autodesk Fusion.
Reading the sketch
In Fusion, sketch geometry that can still move is drawn in blue, and fully constrained geometry turns black. Drag a blue line to see which way it’s free; that tells you which constraint or dimension is missing.
Constrain in this order
- Anchor the sketch to the origin, usually with a coincident constraint on a key point or a symmetric constraint about an axis.
- Add geometric constraints that express intent: horizontal, vertical, tangent, equal, concentric, and symmetric.
- Add driving dimensions last: the sizes and positions you’d write on a drawing.
- Turn dimensions you’ll change into user parameters with meaningful names.
Why not just use Fix?
Fix locks geometry in place without saying why it’s there. The sketch turns black, but the next person can’t change anything without unfixing it, and the design intent is lost. Use real constraints and dimensions instead.
Equal and symmetric constraints remove a lot of dimensions at once. A symmetric slot needs far fewer numbers than one dimensioned edge by edge.
Doing it with Vector
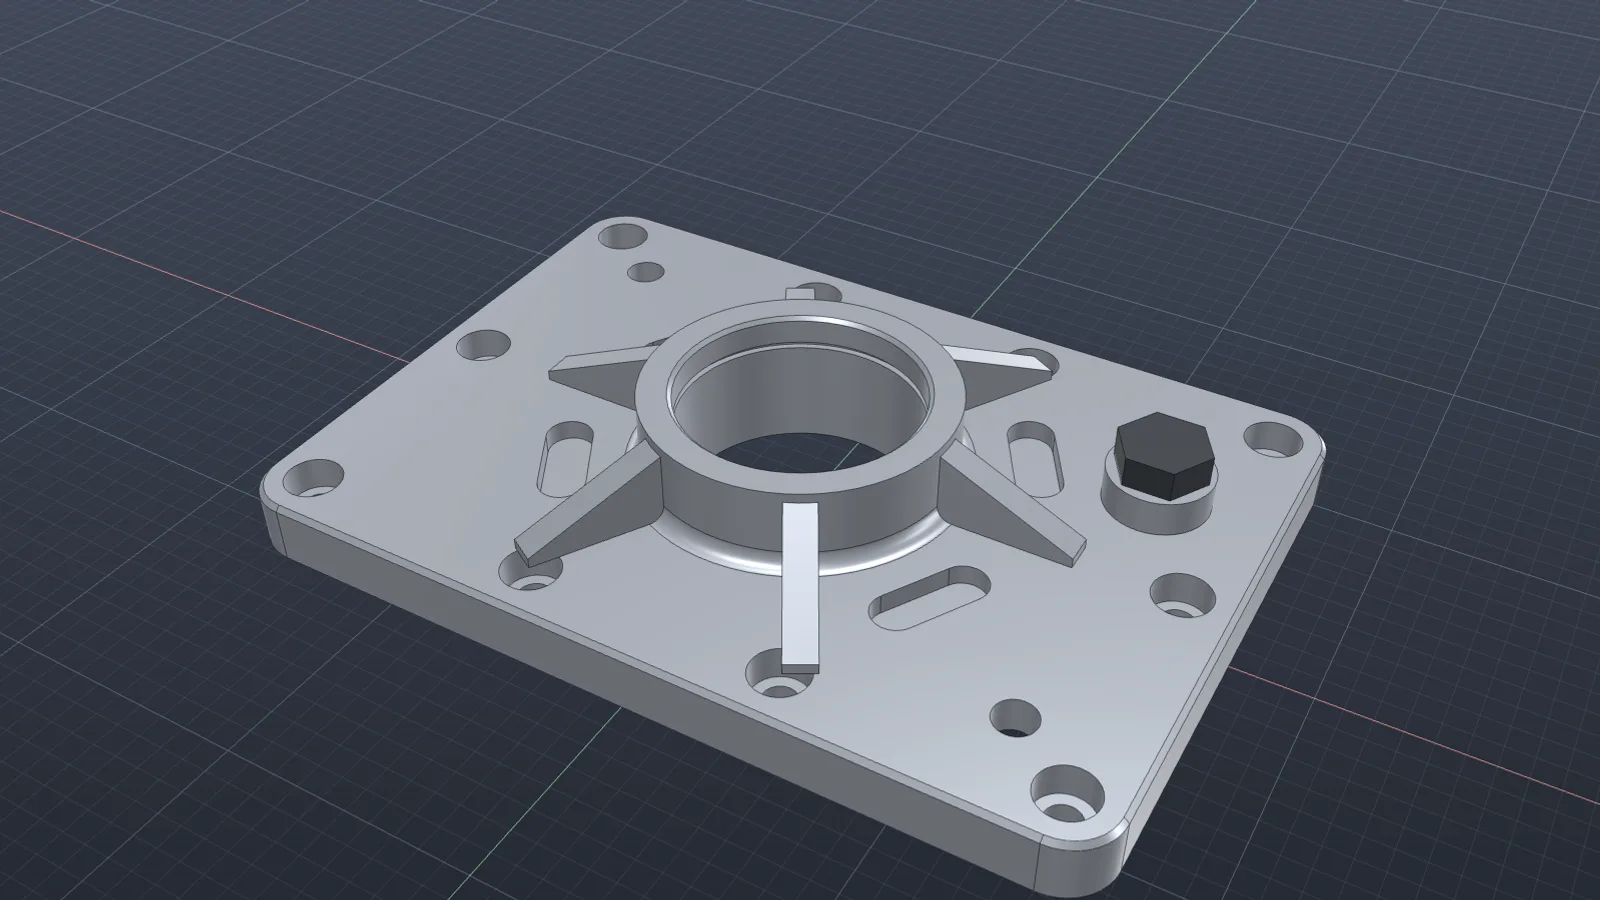
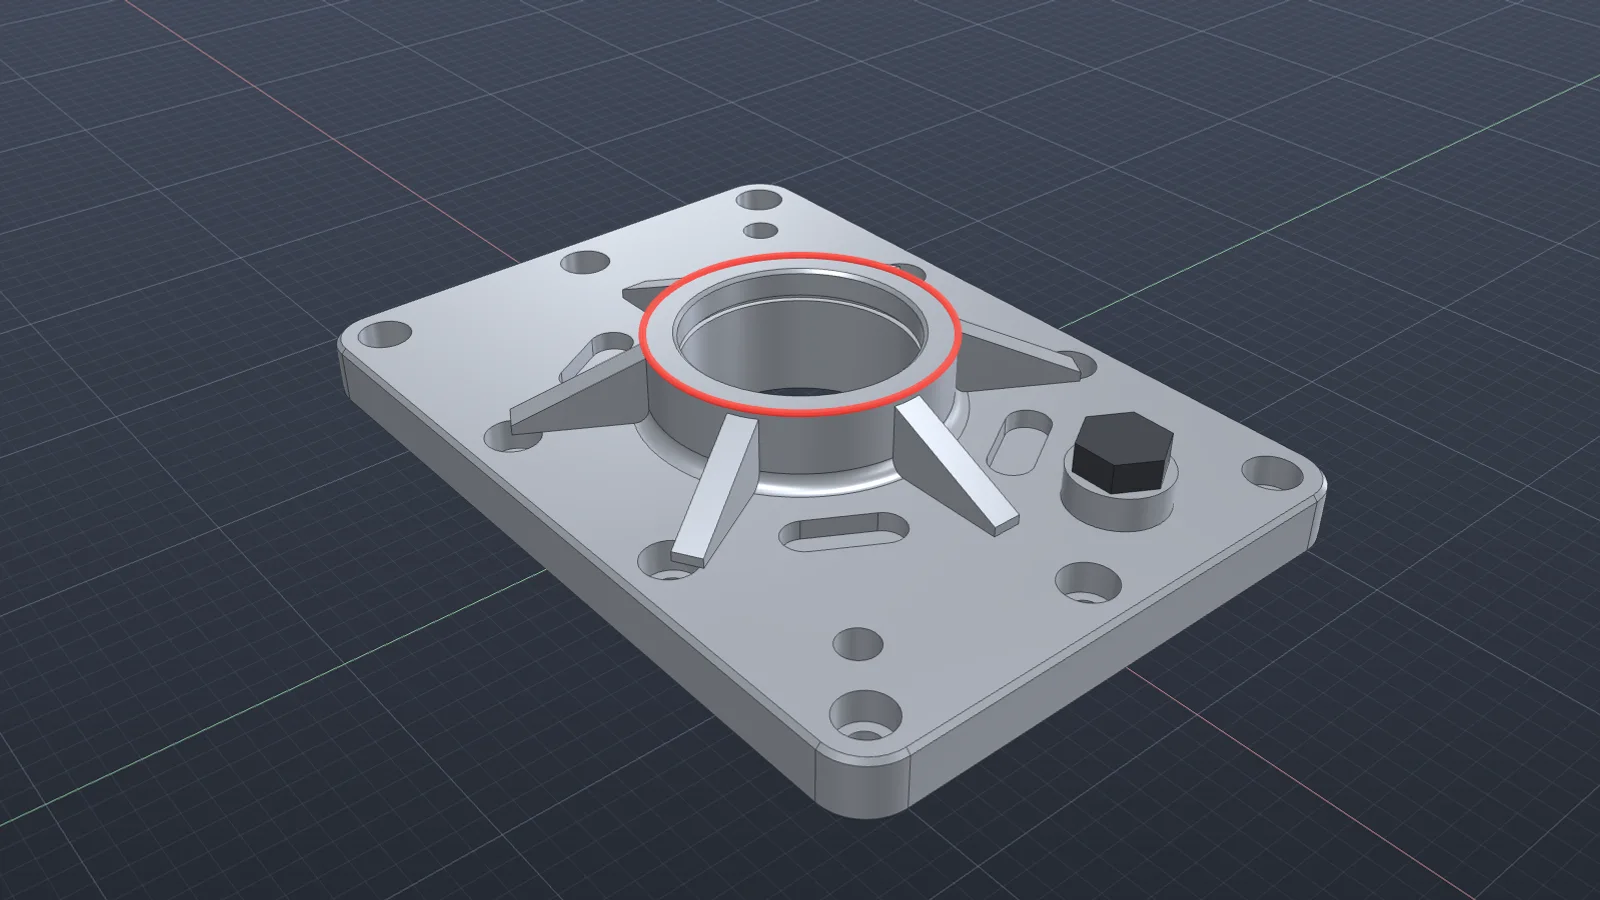
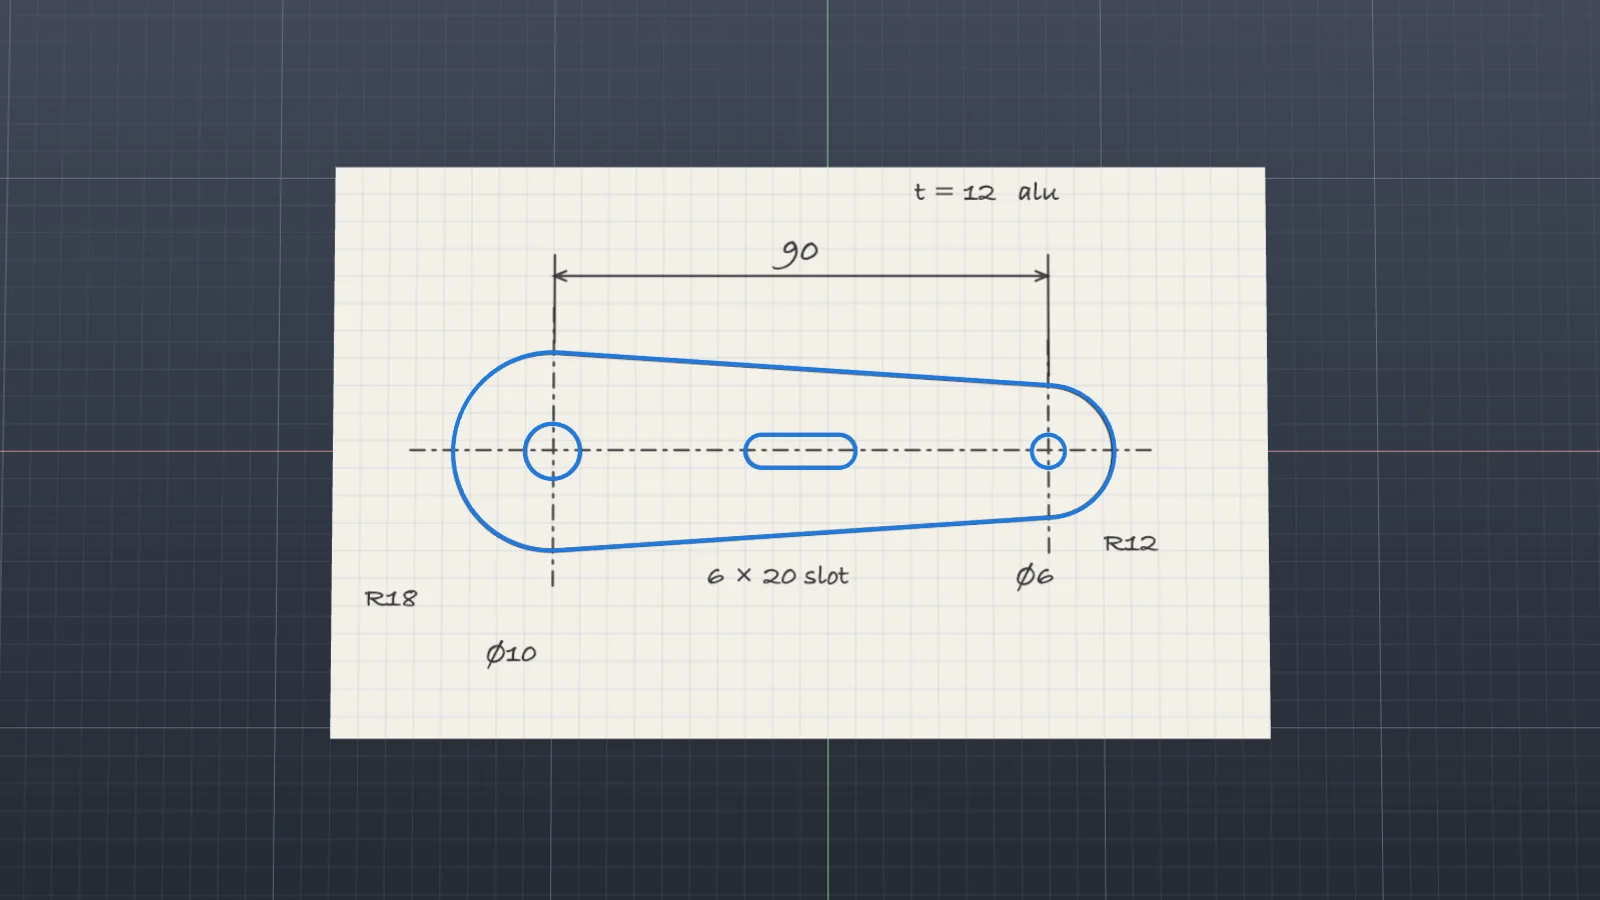
Vector adds the geometric constraints and driving dimensions a profile needs, without falling back on Fix. See it constrain a sketch, or model a part from a hand sketch fully constrained from the start.
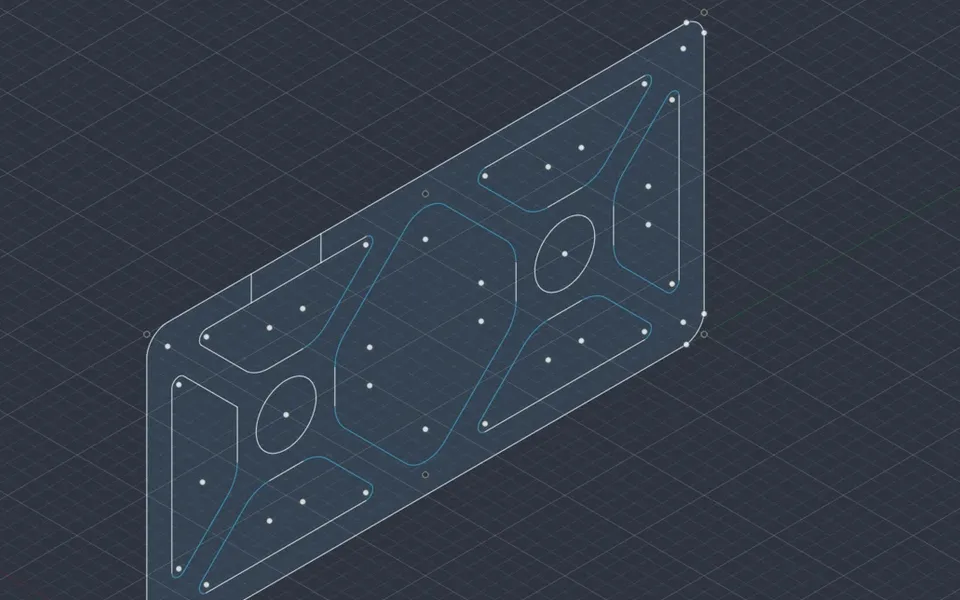
Fully constrain a sketch
Vector adds the geometric constraints and driving dimensions the profile needs, without falling back on Fix constraints.
Watch it in Vector